 And with those panels, you can push and rotate and nudge and switch at will.
Before we move on, here's the disclaimer: all these items were sent to me by VIRPIL. Just like with any other reviews you will find here, though, I will be completely unbiased and totally honest with both you and the manufacturer. Expect me to call them out if something is not right. But also, to praise them if they did a great job.
VIRPIL has a couple of different products in this line, simply called VPC Control Panel #1 and VPC Control Panel #2 (why overcomplicate things, right?) and they, obviously, offer different possibilities and designs.
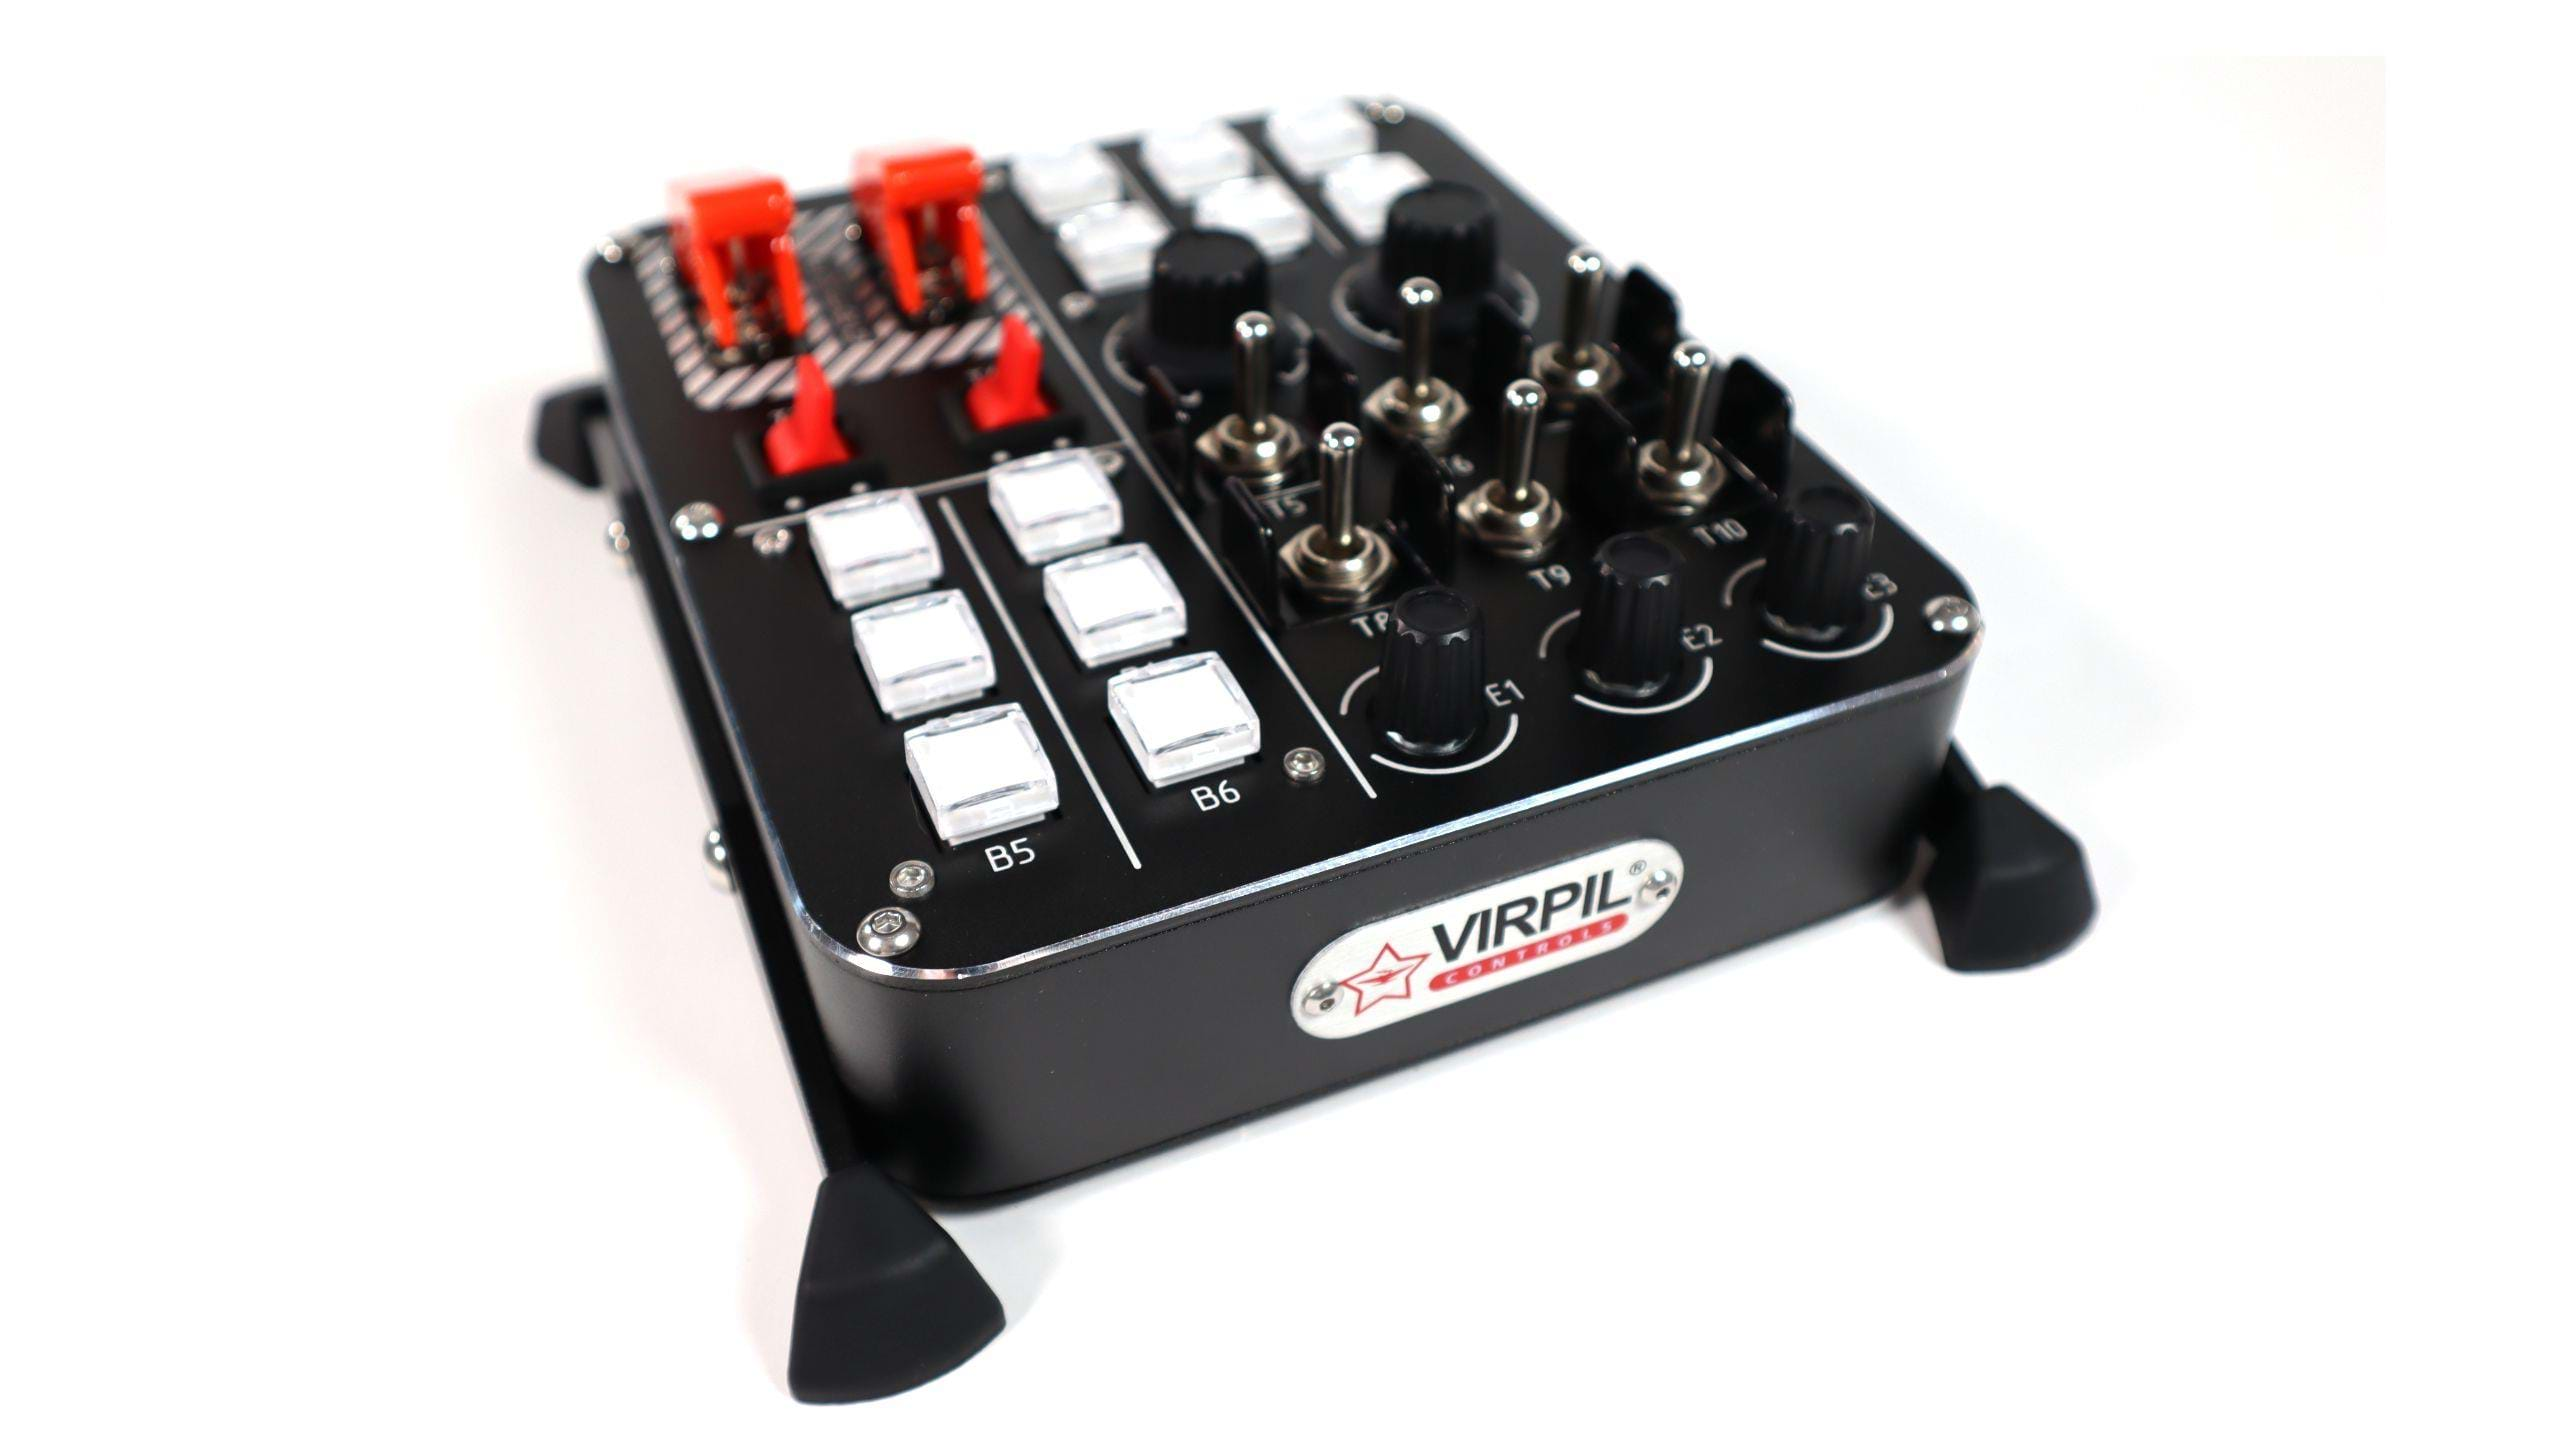
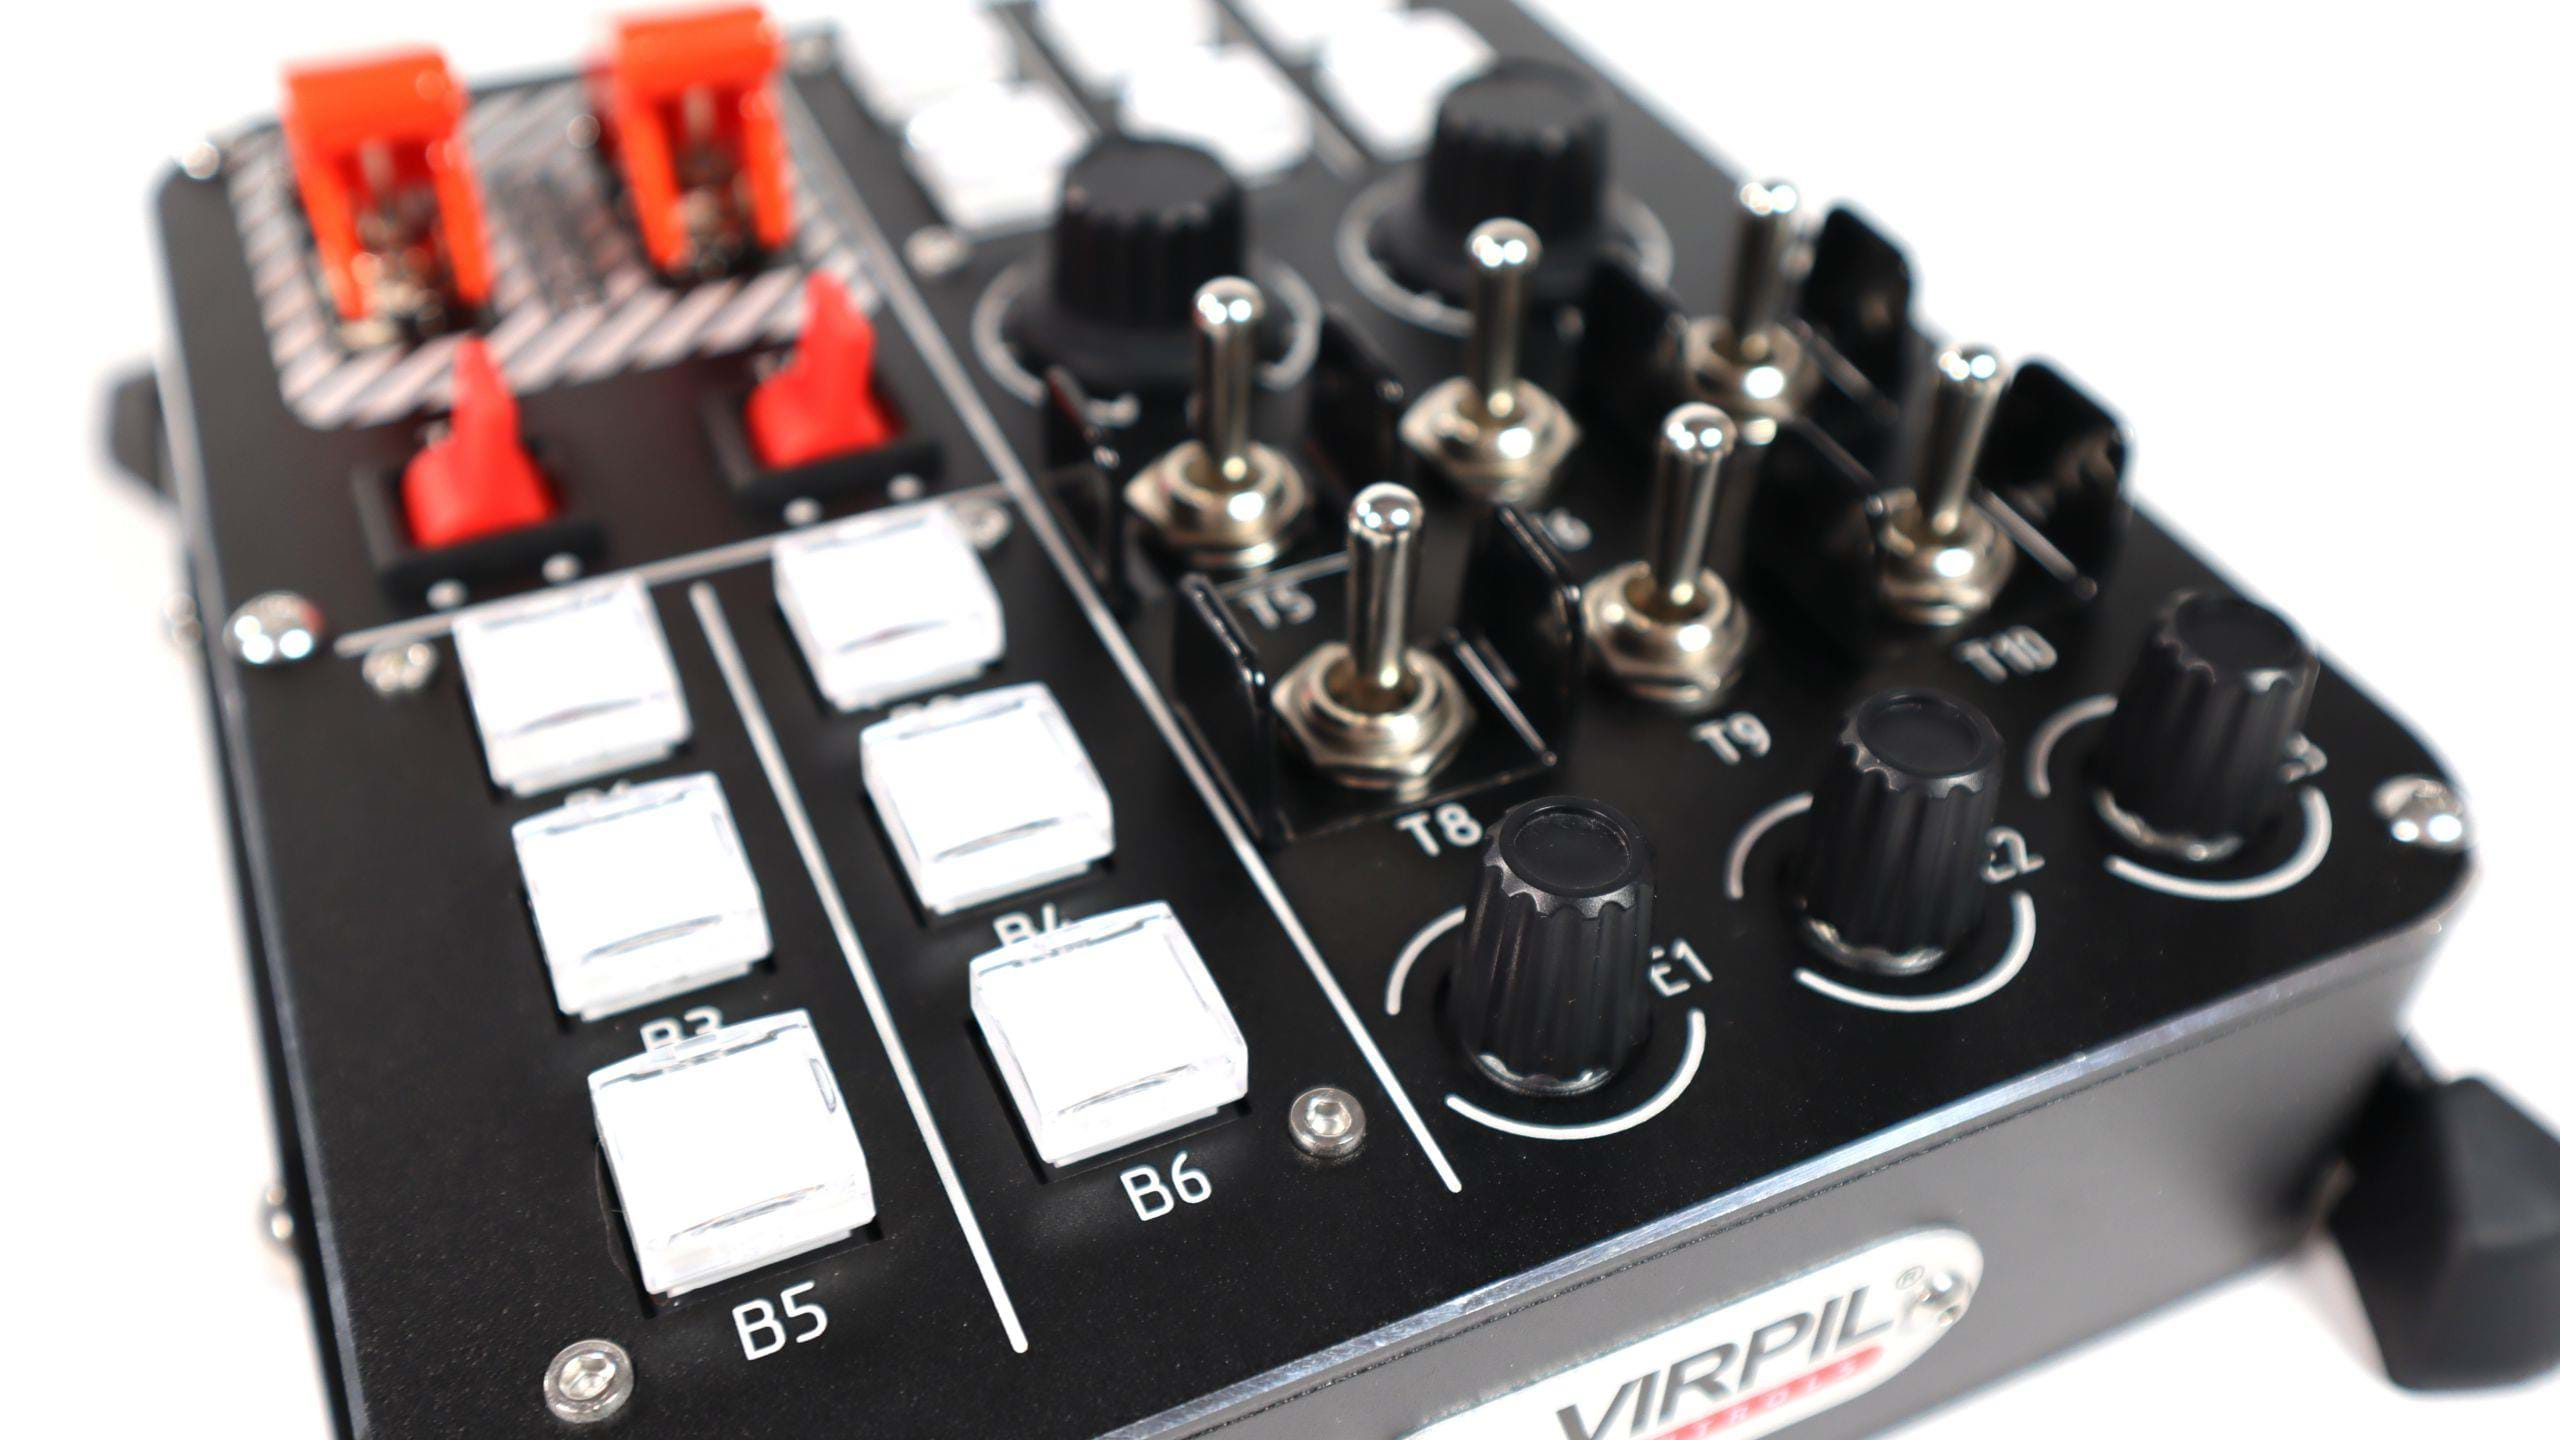
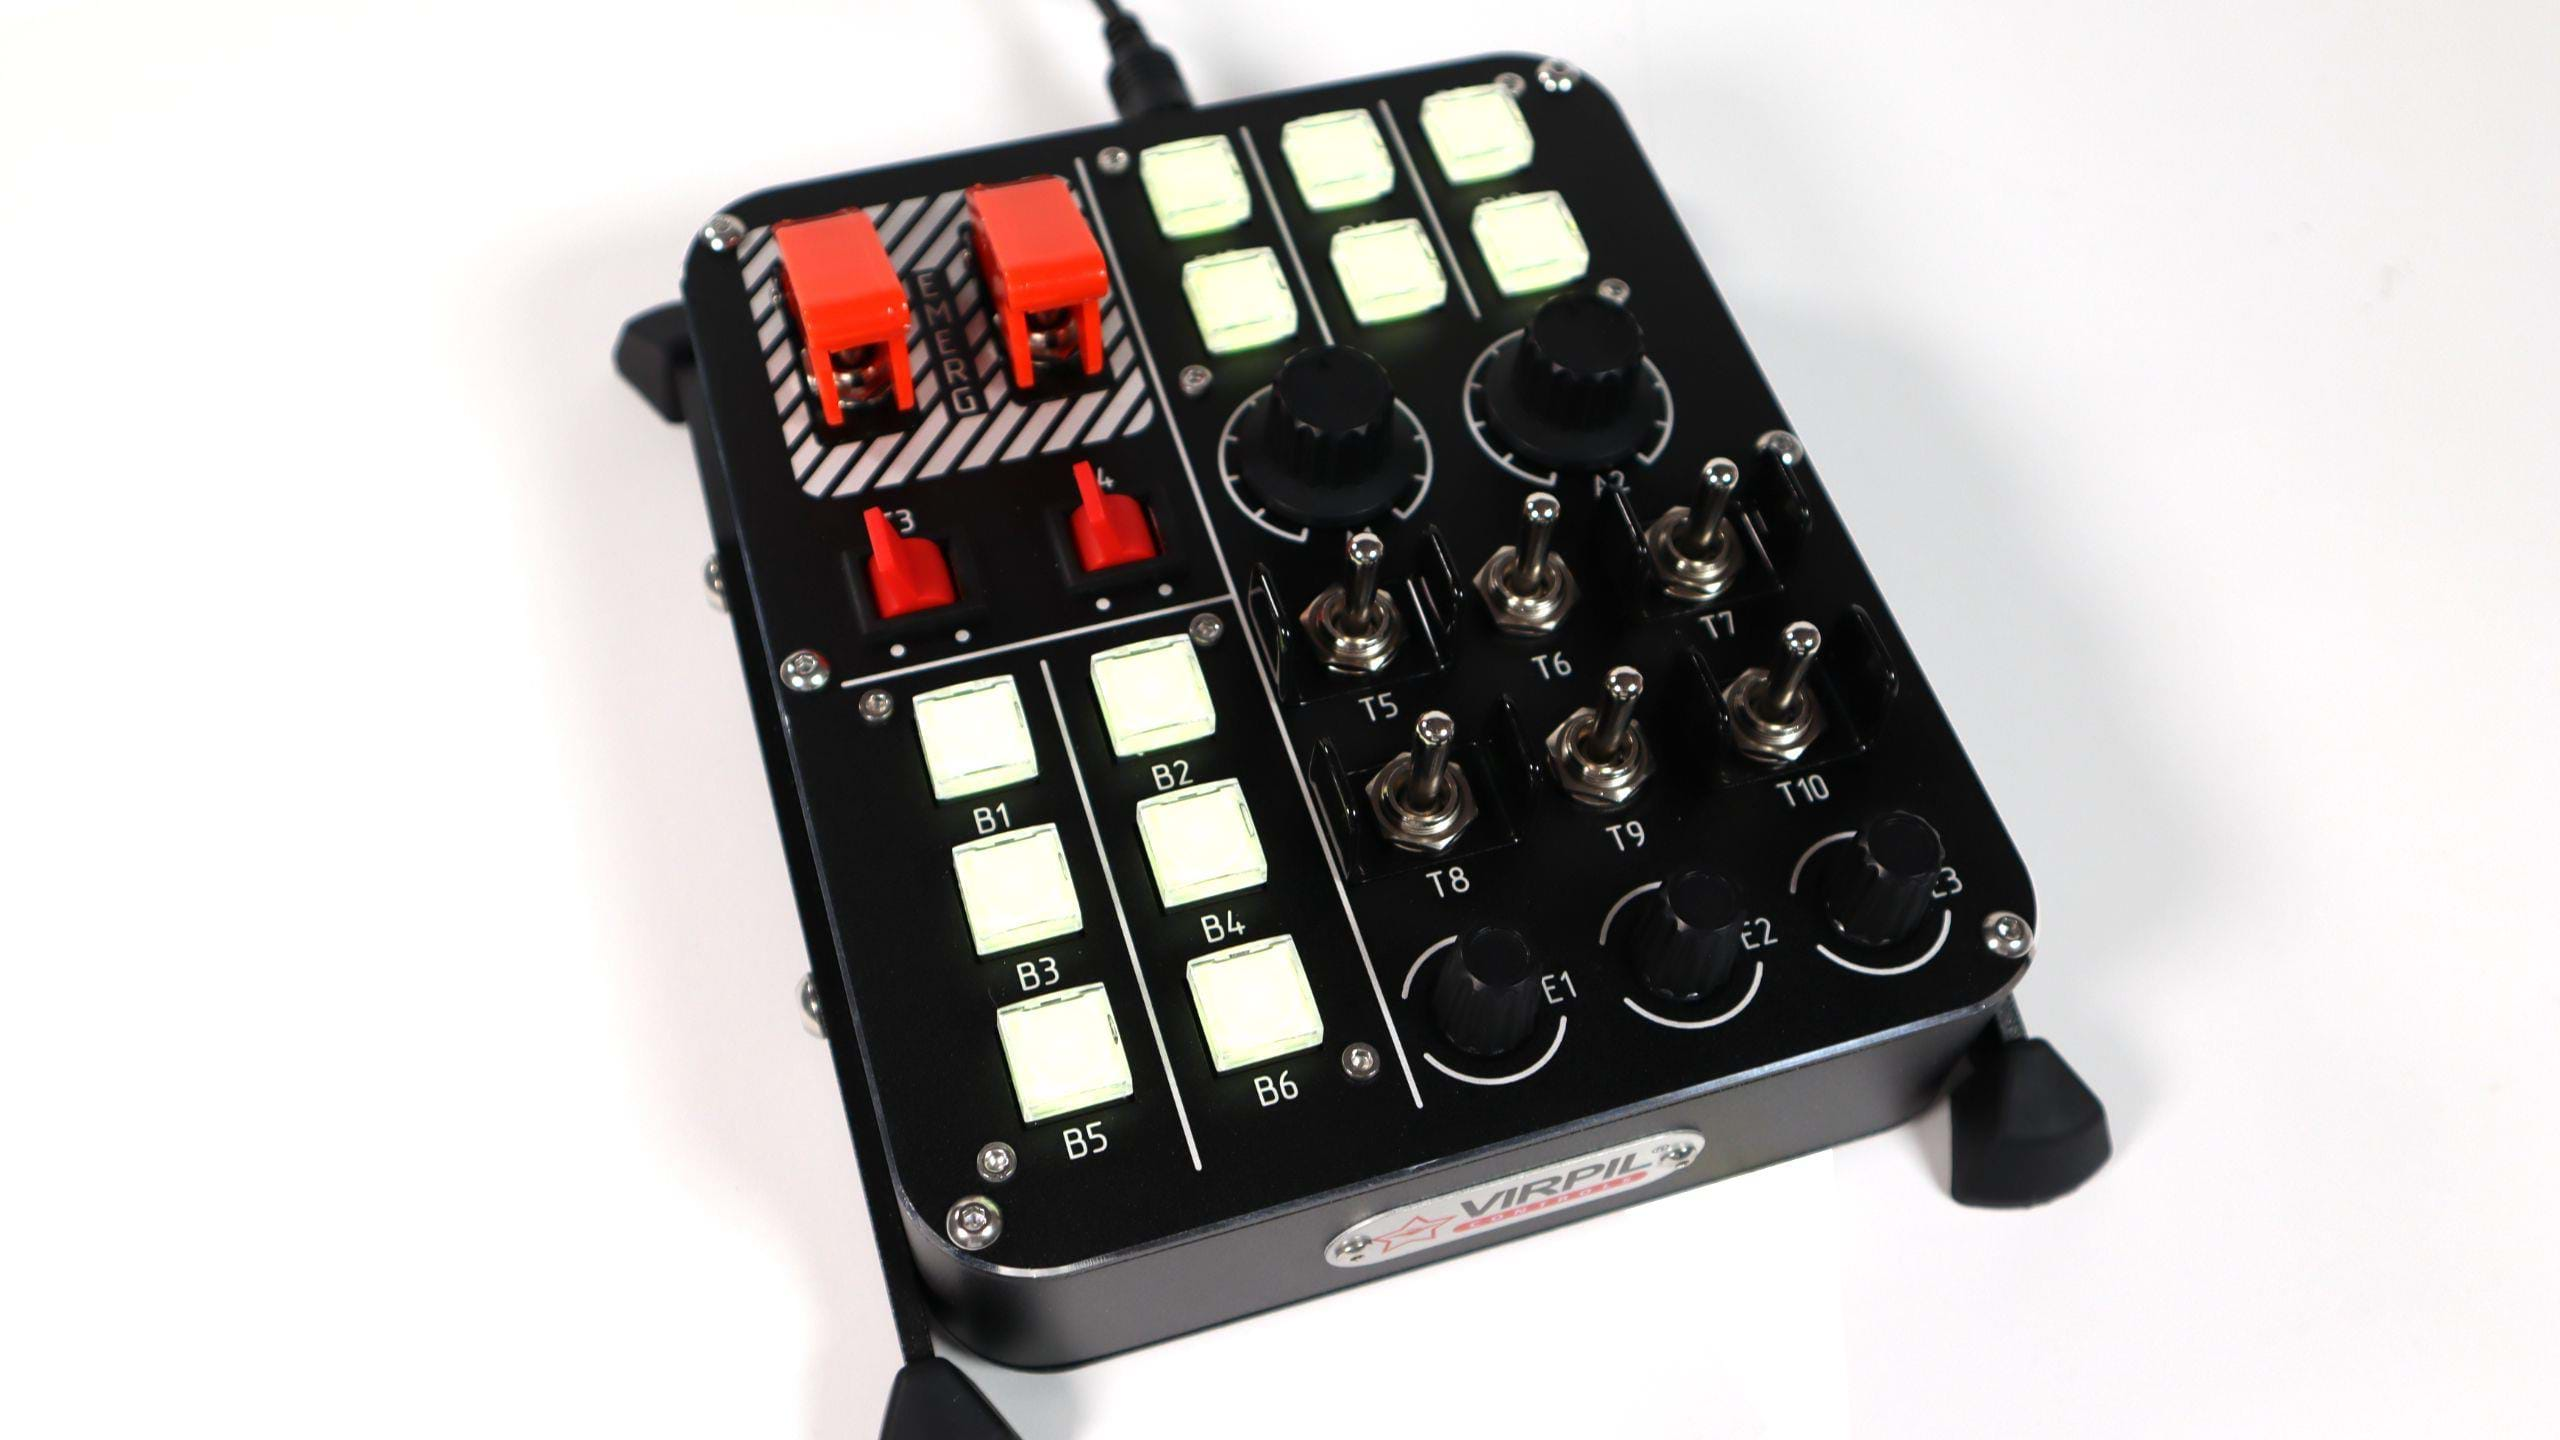
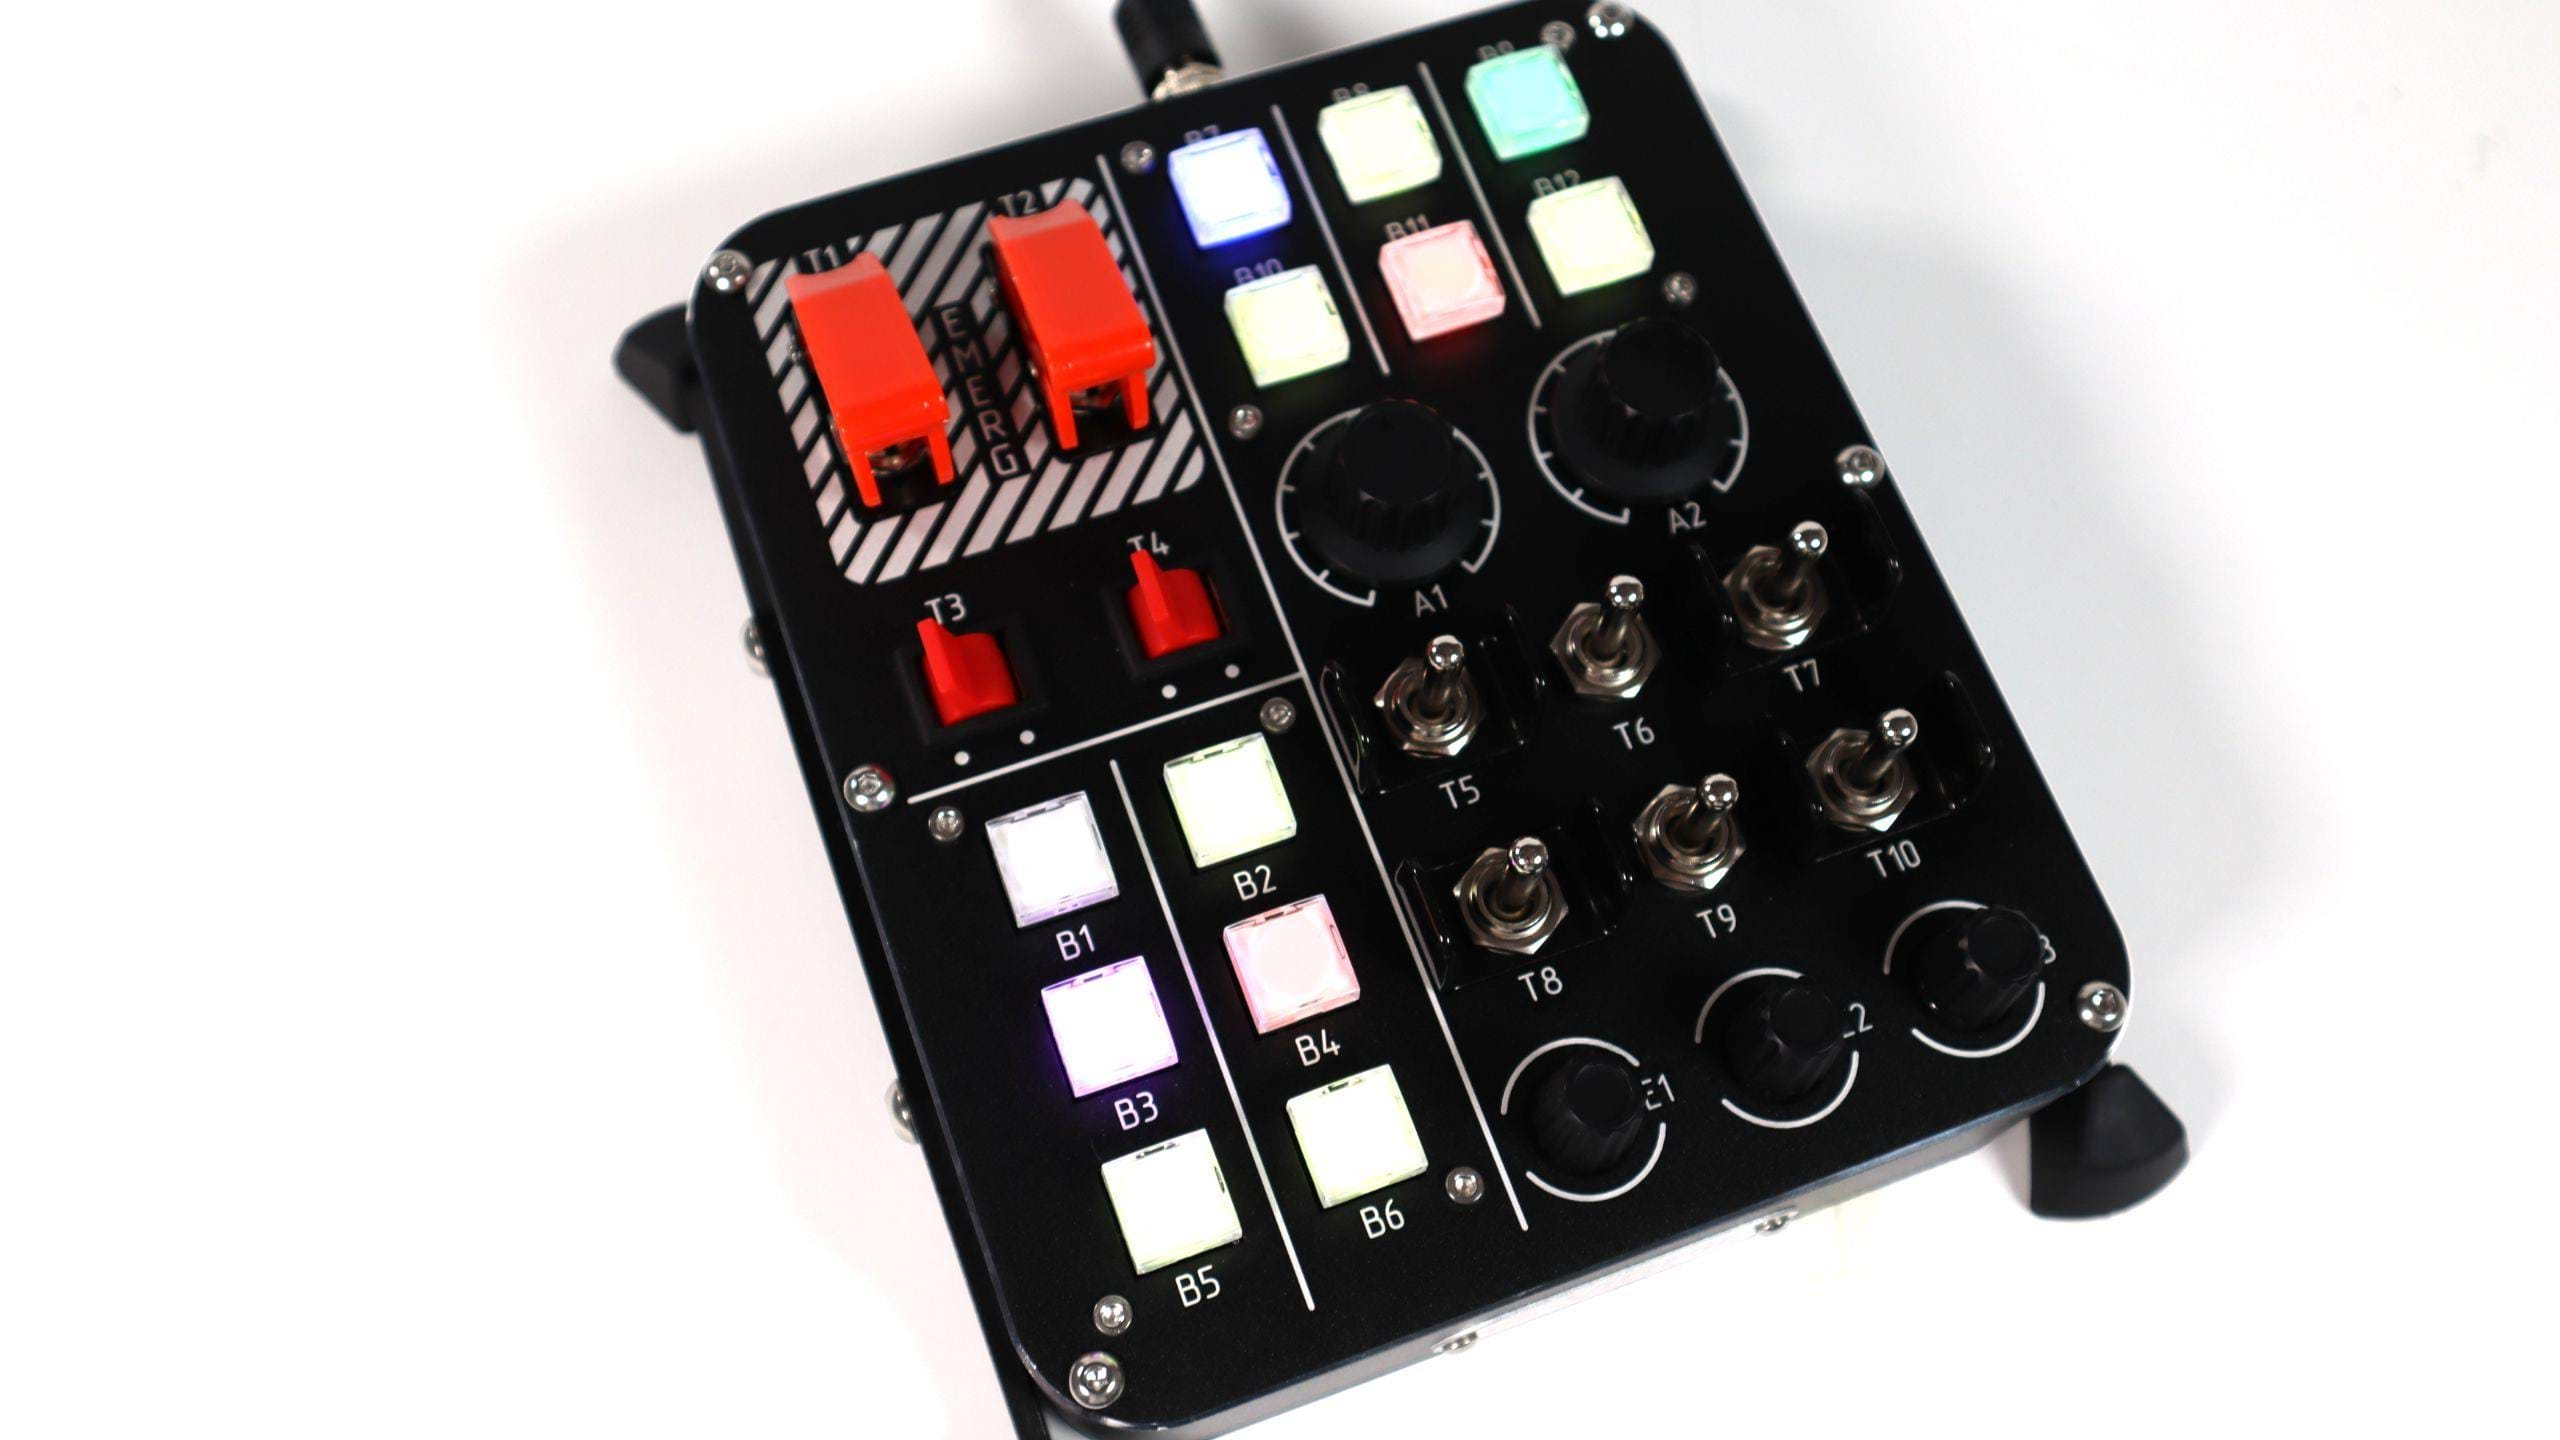
On the VPC Control Panel #1 we can find:
- 12 x Customisable RGB Momentary Buttons
- 6 x Momentary Toggle Switches (ON-OFF-ON)
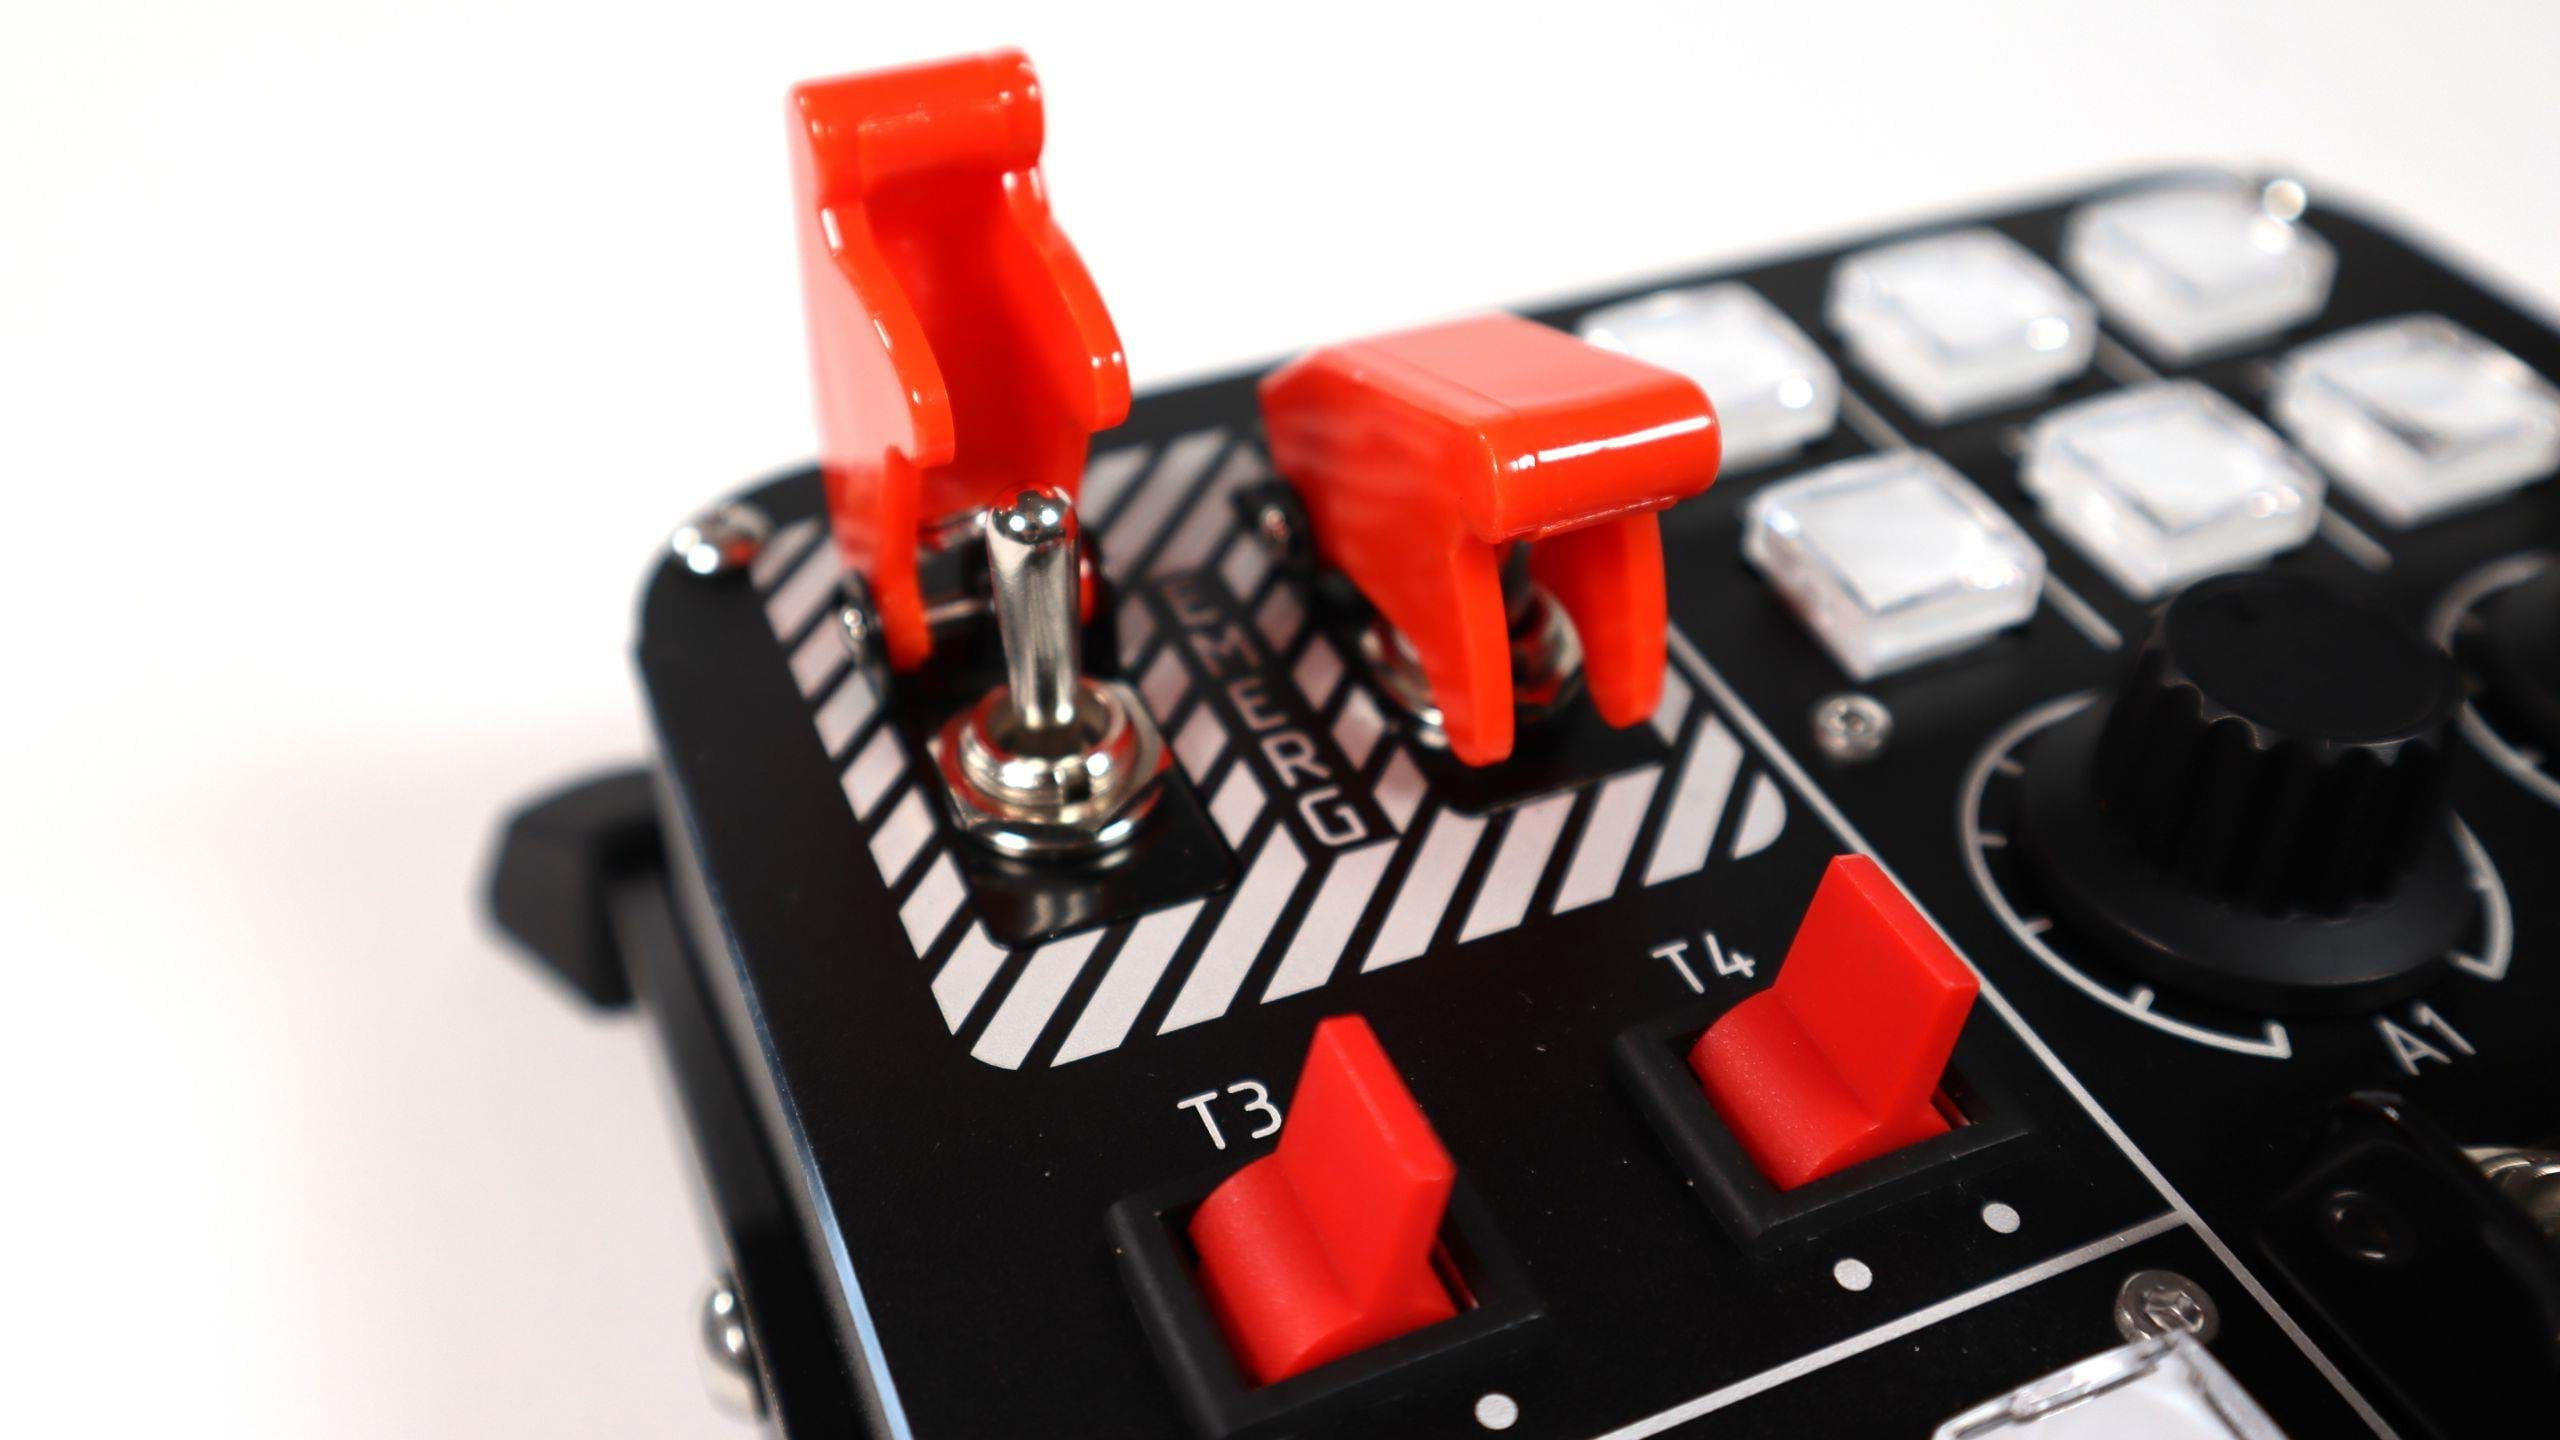
- 2 x Latched Toggle Switches (ON-ON)
- 2 x Flip Cover Toggle Switches
- 3 x Encoder Dials (+ Push)
- 2 x Axis Dials
And on the VPC Control Panel #2, we are getting the following:
- 10 x Customisable RGB Momentary Buttons
- 6 x Momentary Toggle Switches (ON-OFF-ON)
- 2 x Latched Toggle Switches (ON-ON)
- 2 x Flip Cover Toggle Switches (ON-OFF-ON)
- 3 x Encoder Dials (+ Push)
- Multi-Position Landing Gear Lever (ON-ON-ON)
The main difference between both is the fact that Control Panel #2 trades the 2 axis dials with the landing gear lever. Other than that, and despite the different position of the controls, they are pretty similar.
VIRPIL was kind enough to send me the VPC Control Panel #1, the one with the 2 axis dials instead of the landing gear lever.
First contact
I know I am repeating myself . But. This. Thing. Is. HEAVY.
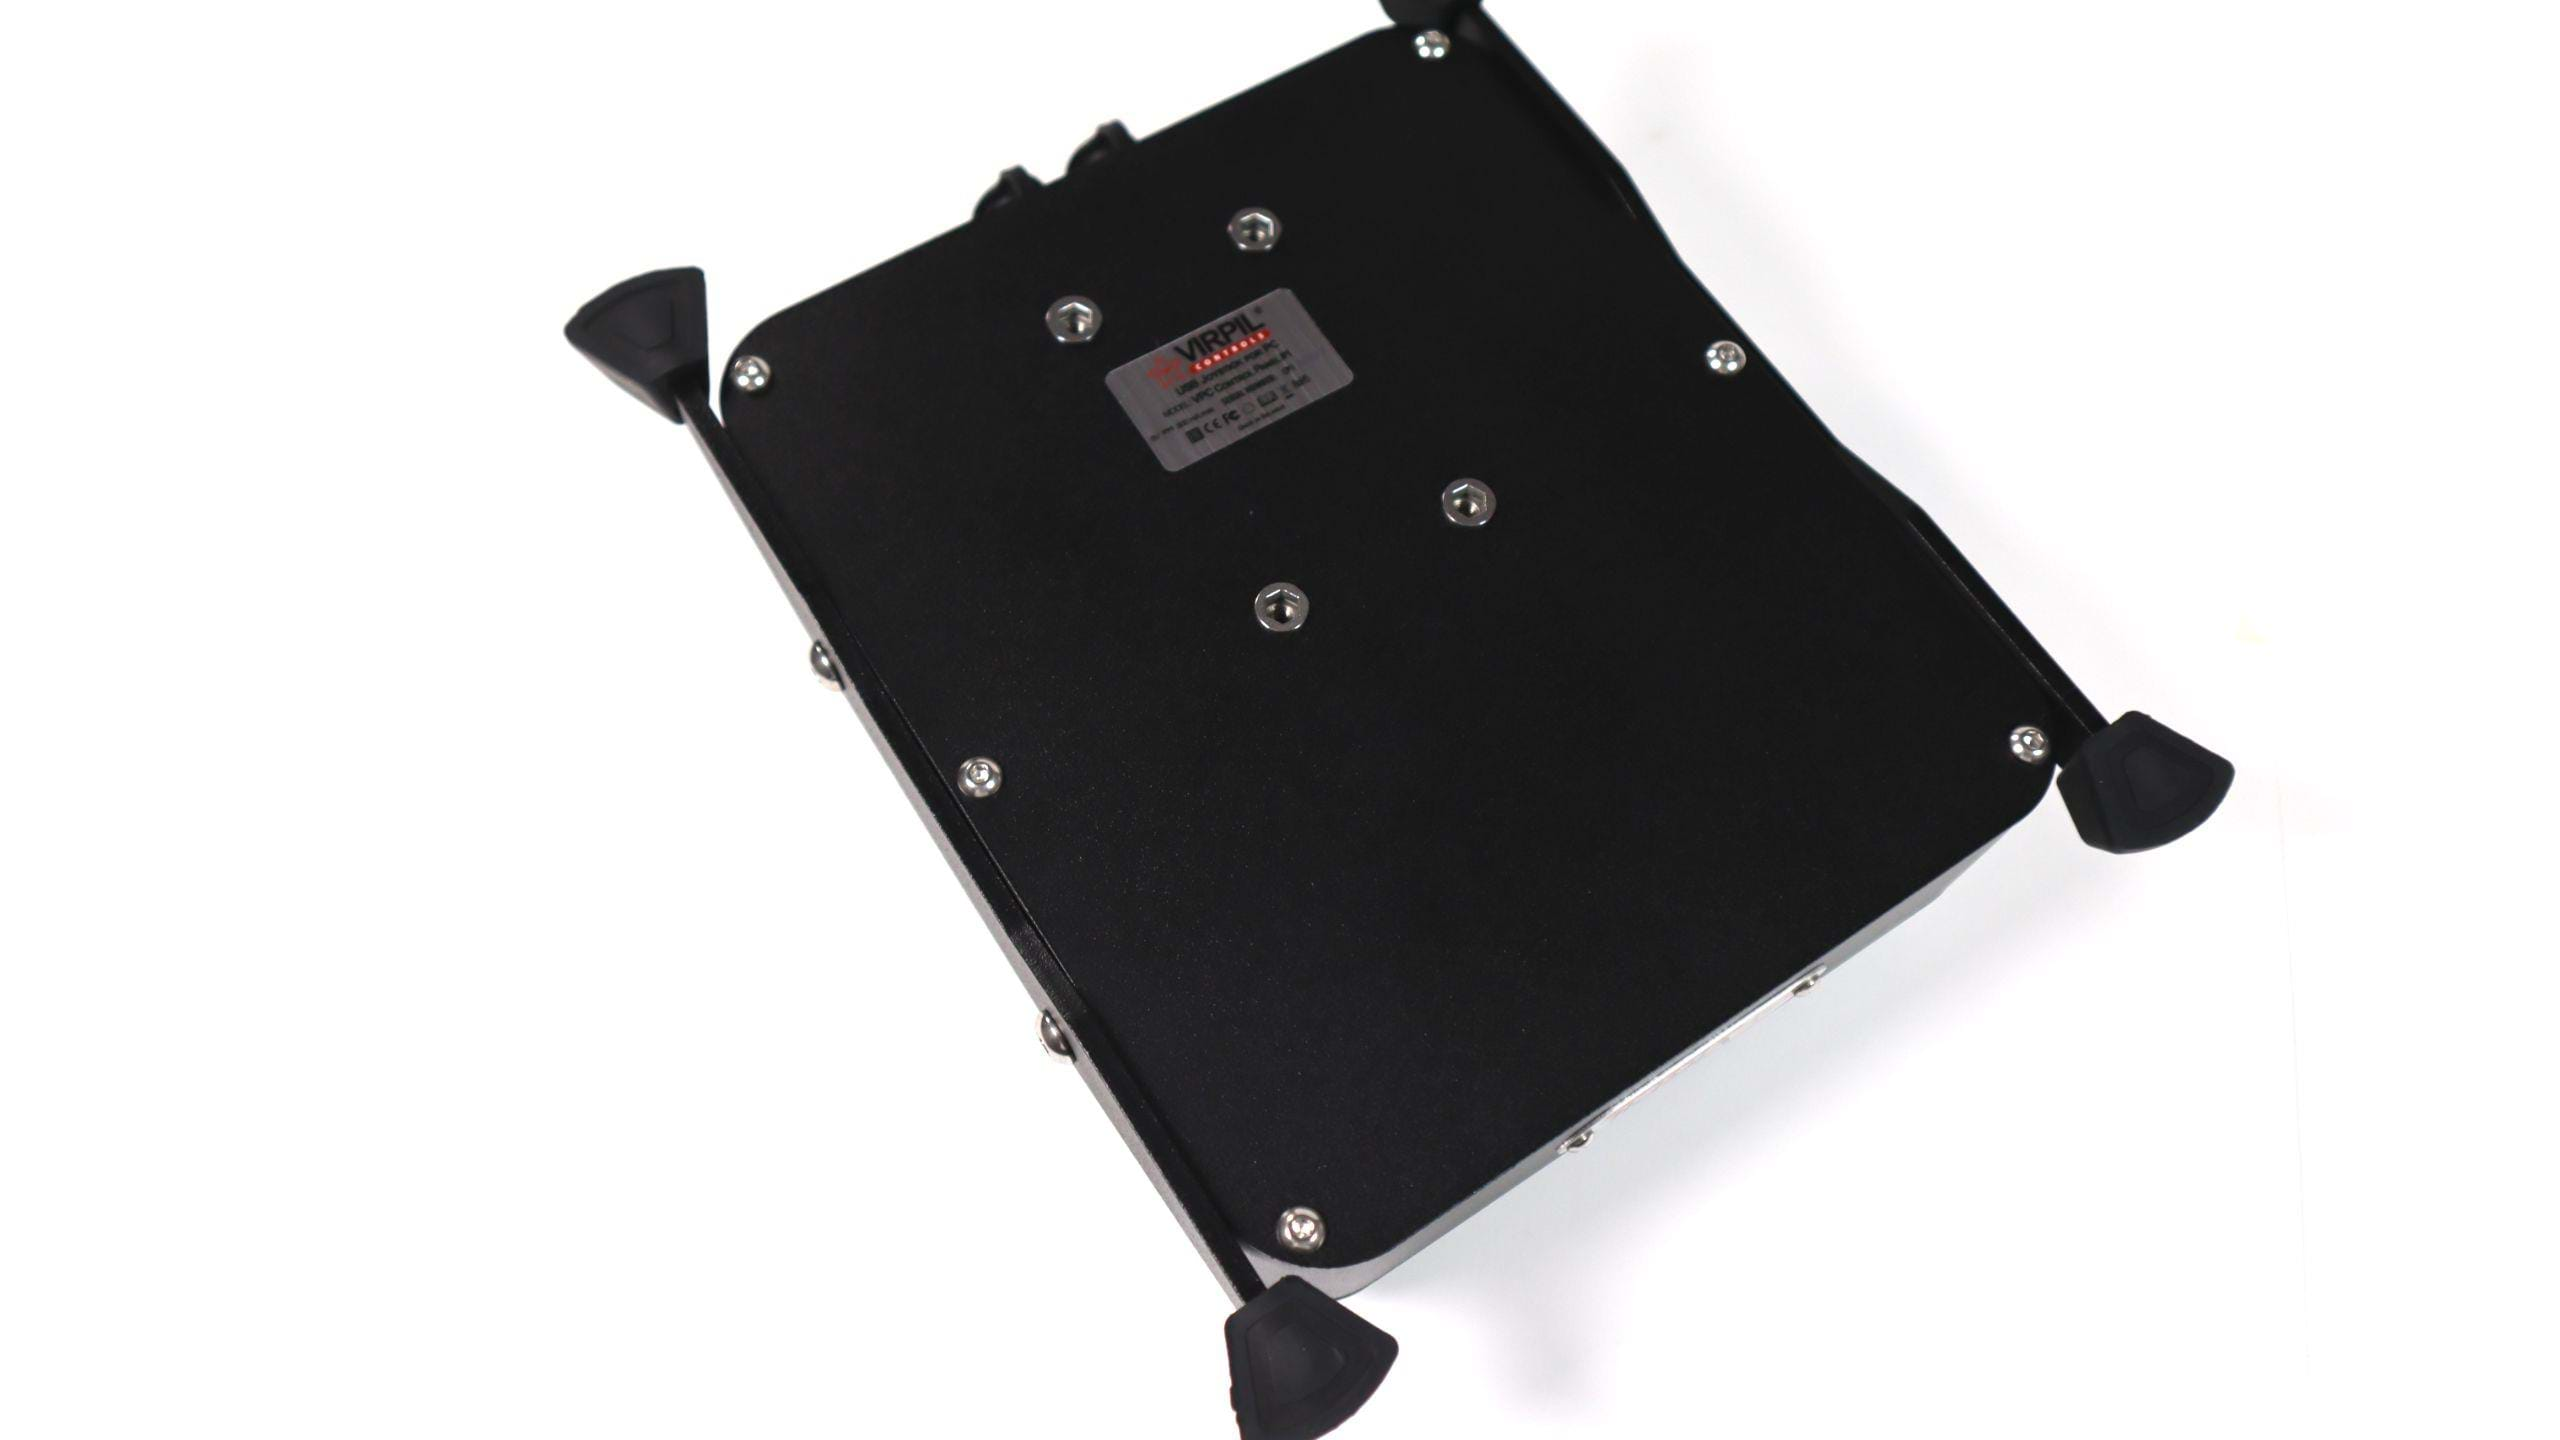
If you have read my previous reviews about VIRPIL hardware, you’ll know I’ve been impressed with the construction quality of their products. This panel, of course, is no different.
Except for the obvious button caps and other parts that are usually plastic and rubber, metal is what this thing is made of. Solid, thick, beautifully machined metal with gorgeous black layer. My OCD wants to store it on a display case and show it to the world, not allowing it to get any dust or get scratched.
But this thing was made to be used! And used it shall be!
(Perhaps I’ll put it safely away after each use. Need some gloves as not to fill it with fingerprints too.)
Jokes aside, these control panels are beautiful and sturdy. Holding it on your hand and feeling its weight and the quality of the material is very satisfying.
All the controls are of great quality and very solid. They don’t move in ways they are not supposed to move, and I had no issues with any of them. They are smooth and they feel great to the touch and in the way they operate.
Installation
This is quite a simple process. You can connect the panel to another control set (such as a joystick or a throttle, for example) or directly to your computer. The panels has 2 plugs which allow you to make that choice.
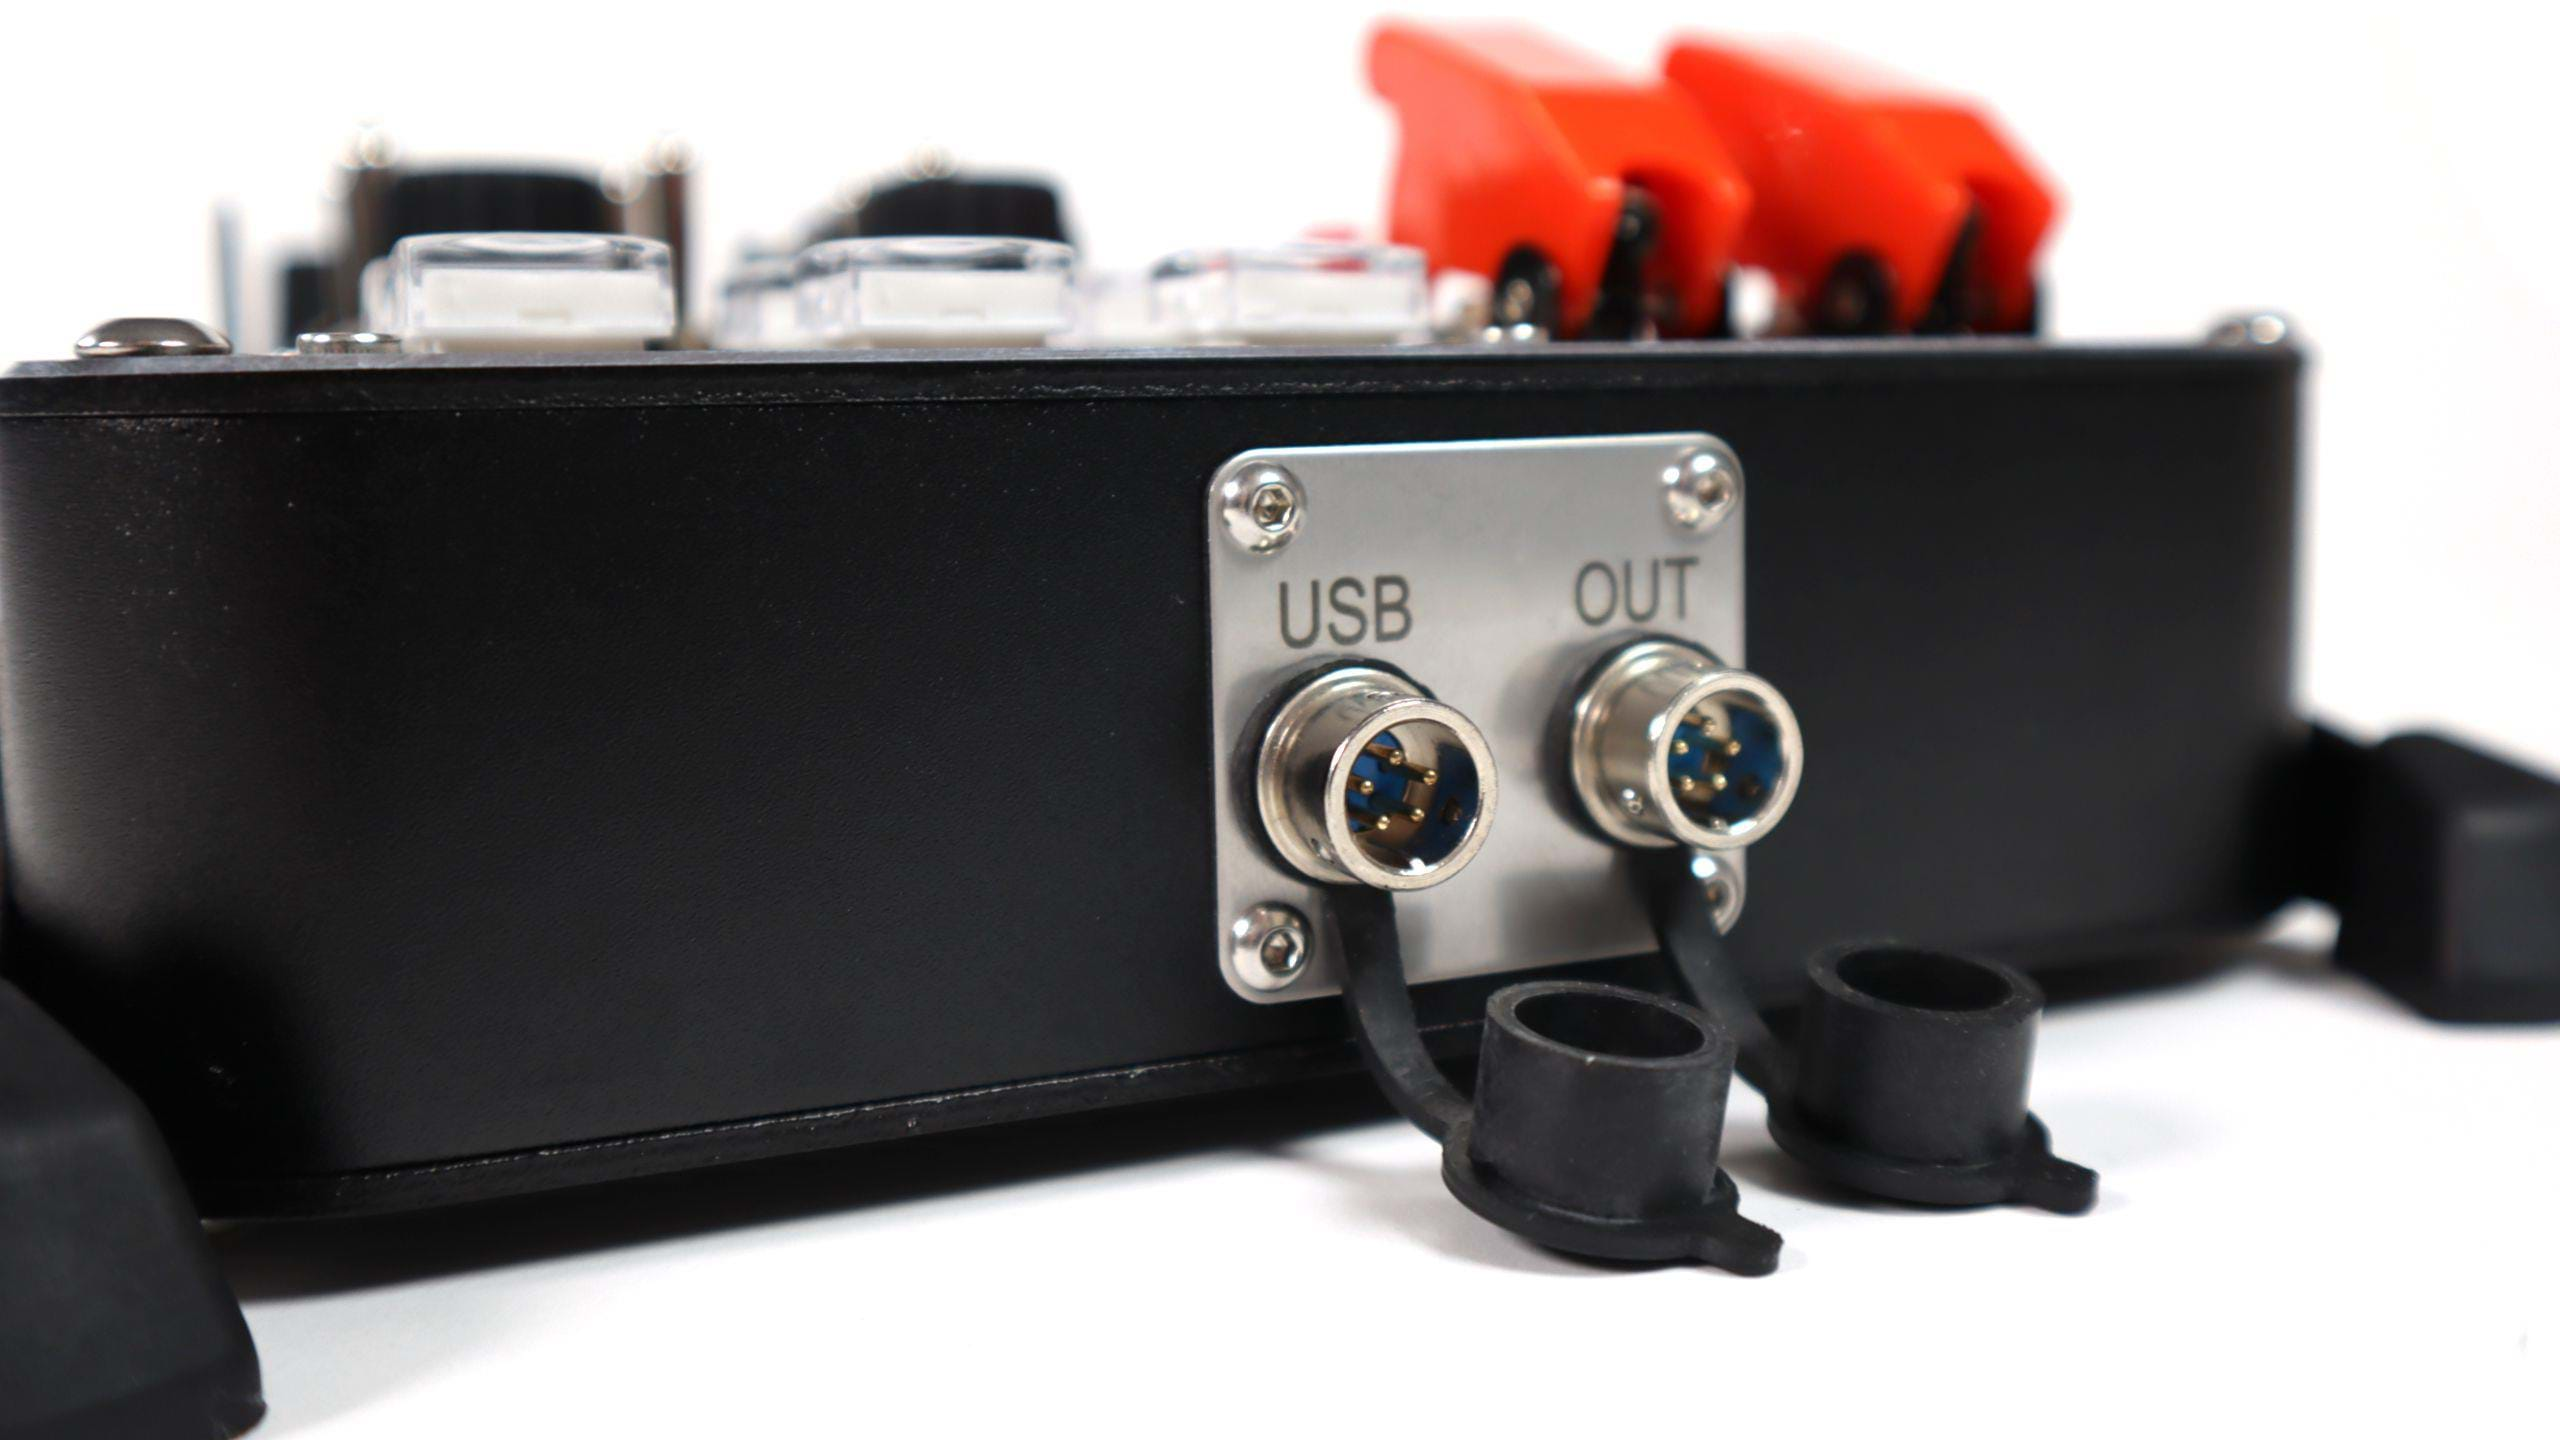
Other than that, you just need to install the VPS Software , connect the panel to the computer and set it up there. Easy.
I’ll be lazy once again and refer you (again) to the VIRPIL VPC MongoosT-50CM2 Base review for more details since the installation is pretty much the same across all of VIRPIL’s hardware.
- Connect 1 control at a time (and proceed to #2 when you have only 1 controller plugged in)
- Indicate which model you have
- Update the firmware
- Save
- Head out to the next controller if you have more to set up
And, before moving on, I will put this here as well as it's extremely important):
Important note: if you have multiple VIRPIL controls, make sure you connect one at a time and set them up separately as to prevent issues, conflicts or even damaging your controls.
Assembly choices
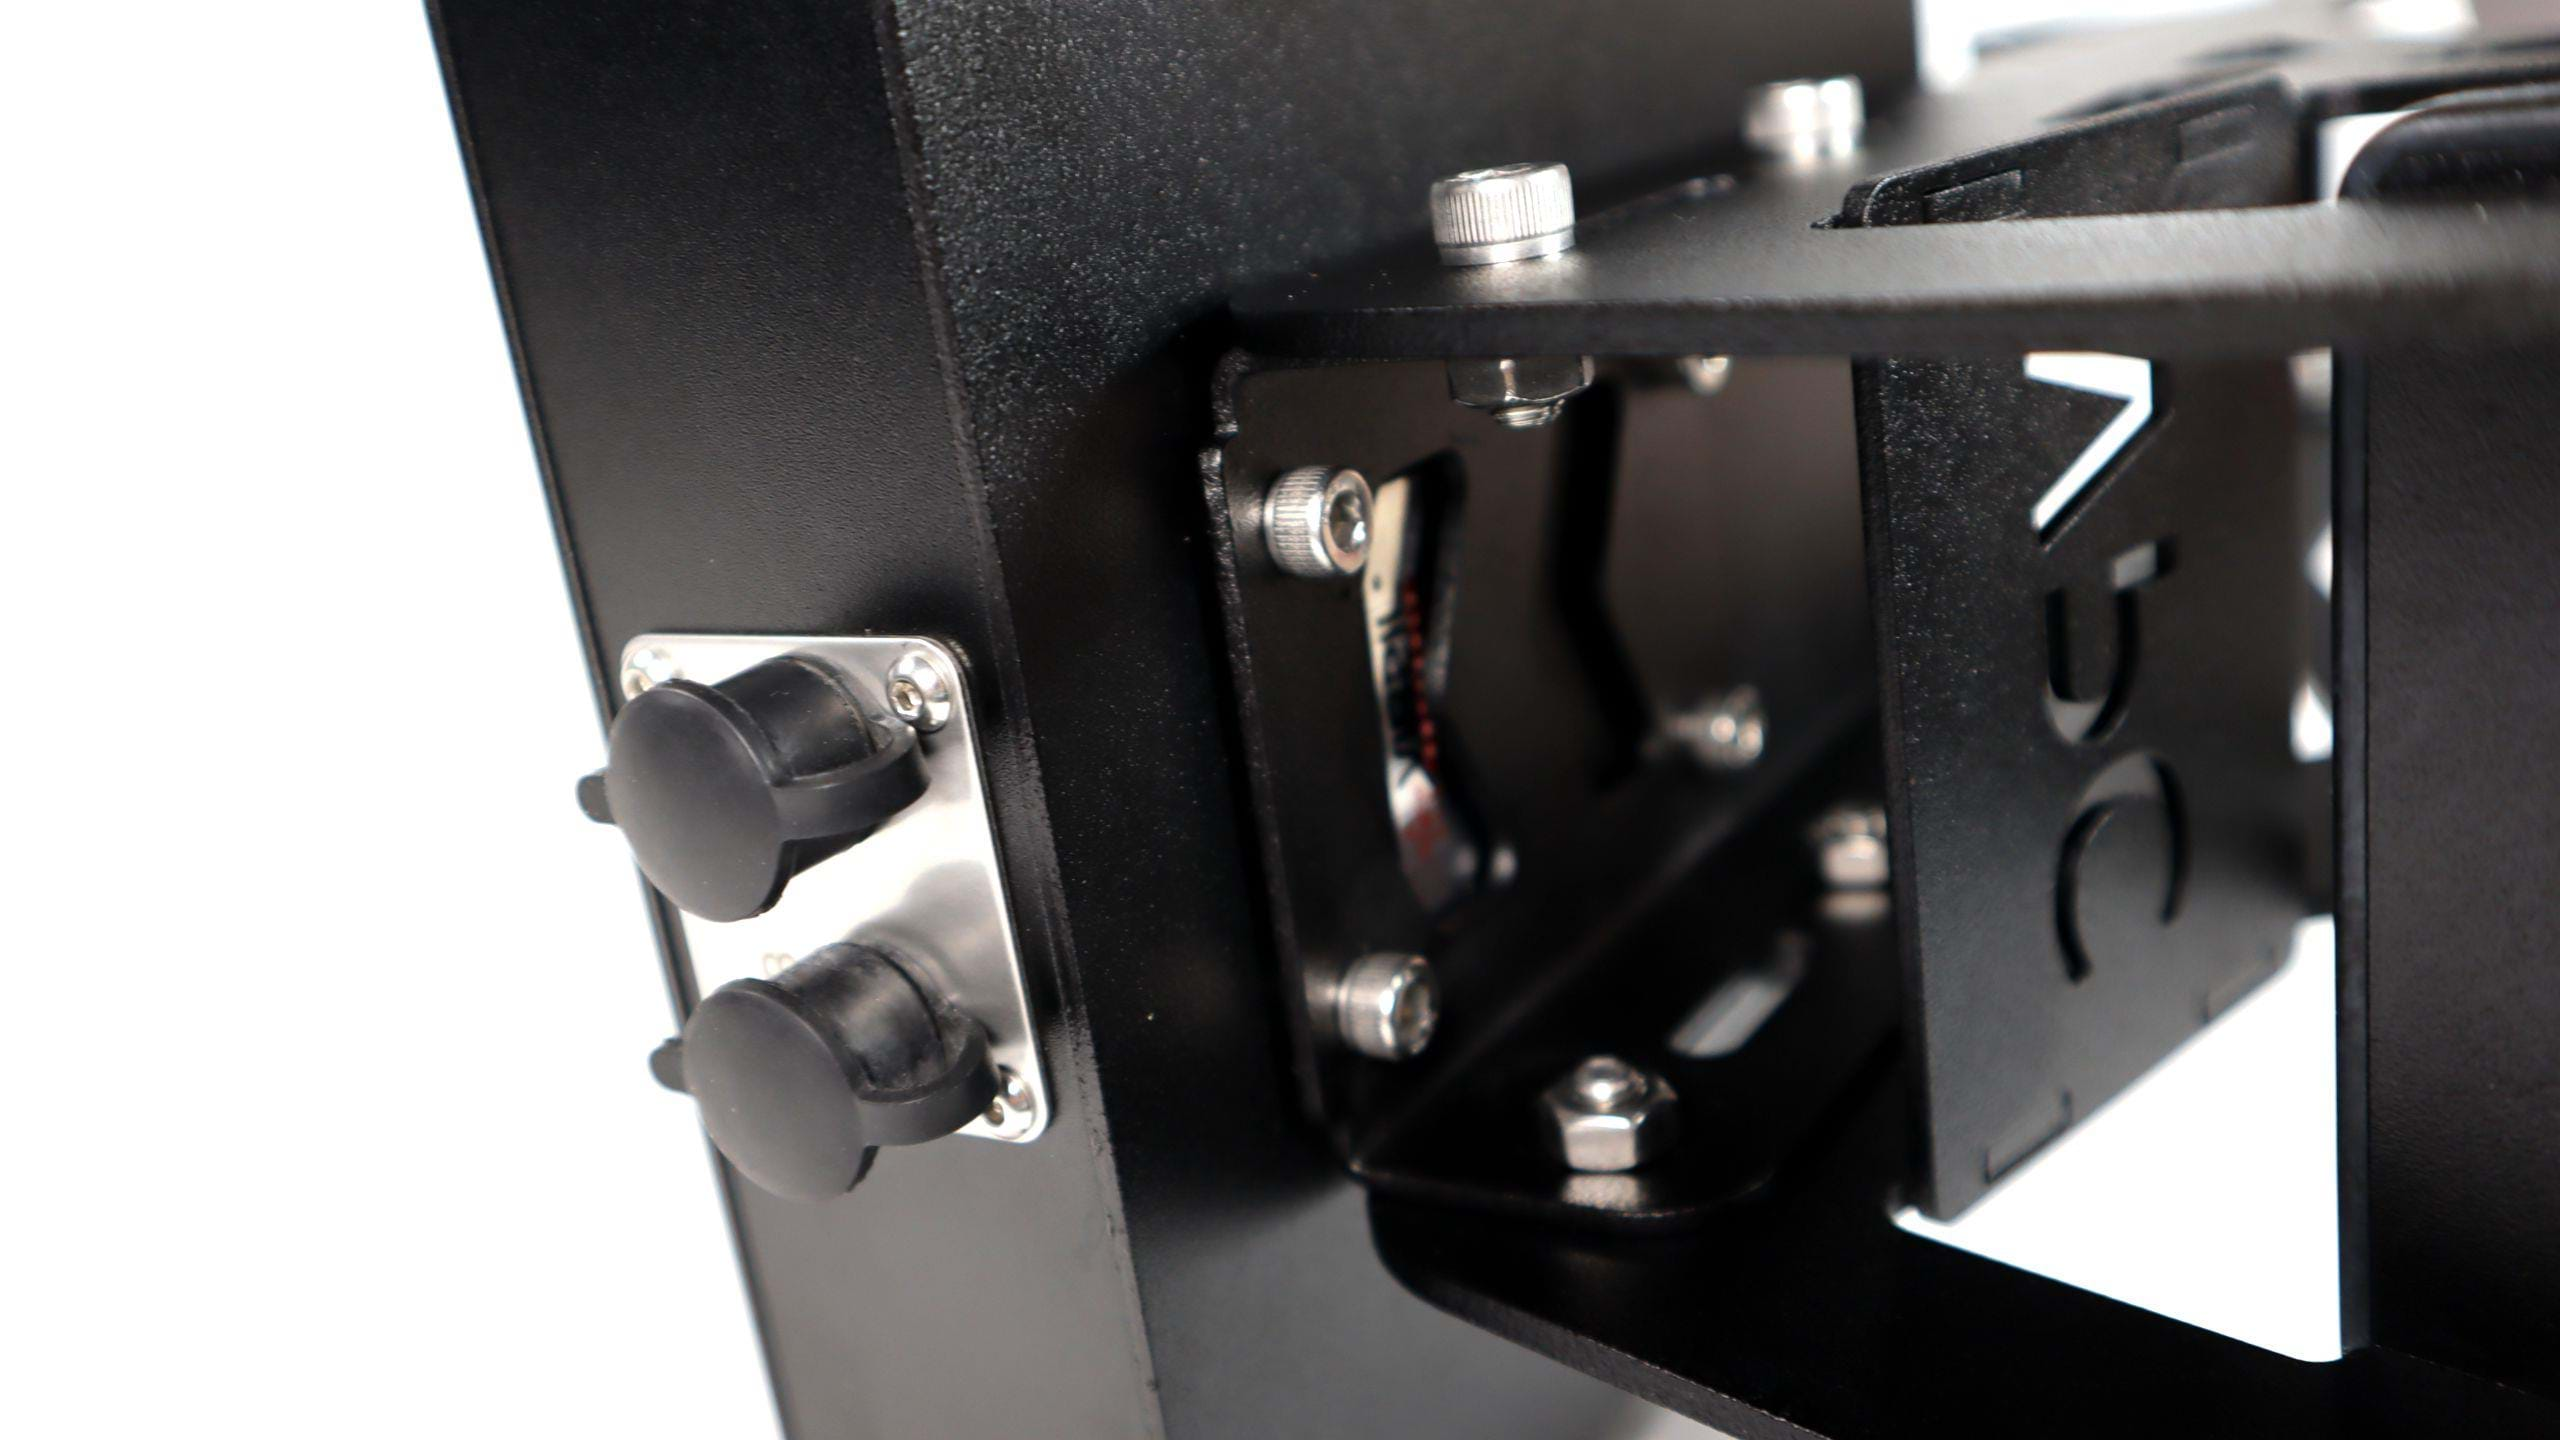
One thing that you might notice on the VPC Control Panel 1 manual is that there are many options to mount the panels. Especially if you use VIRPIL’s own mounting system.
You can, of course, just place the panel on a table in front or next to you, but you can also place it on the VPC Desk Mount , either in the center or on the side. You could actually add 3 of these easily on a desk mount.

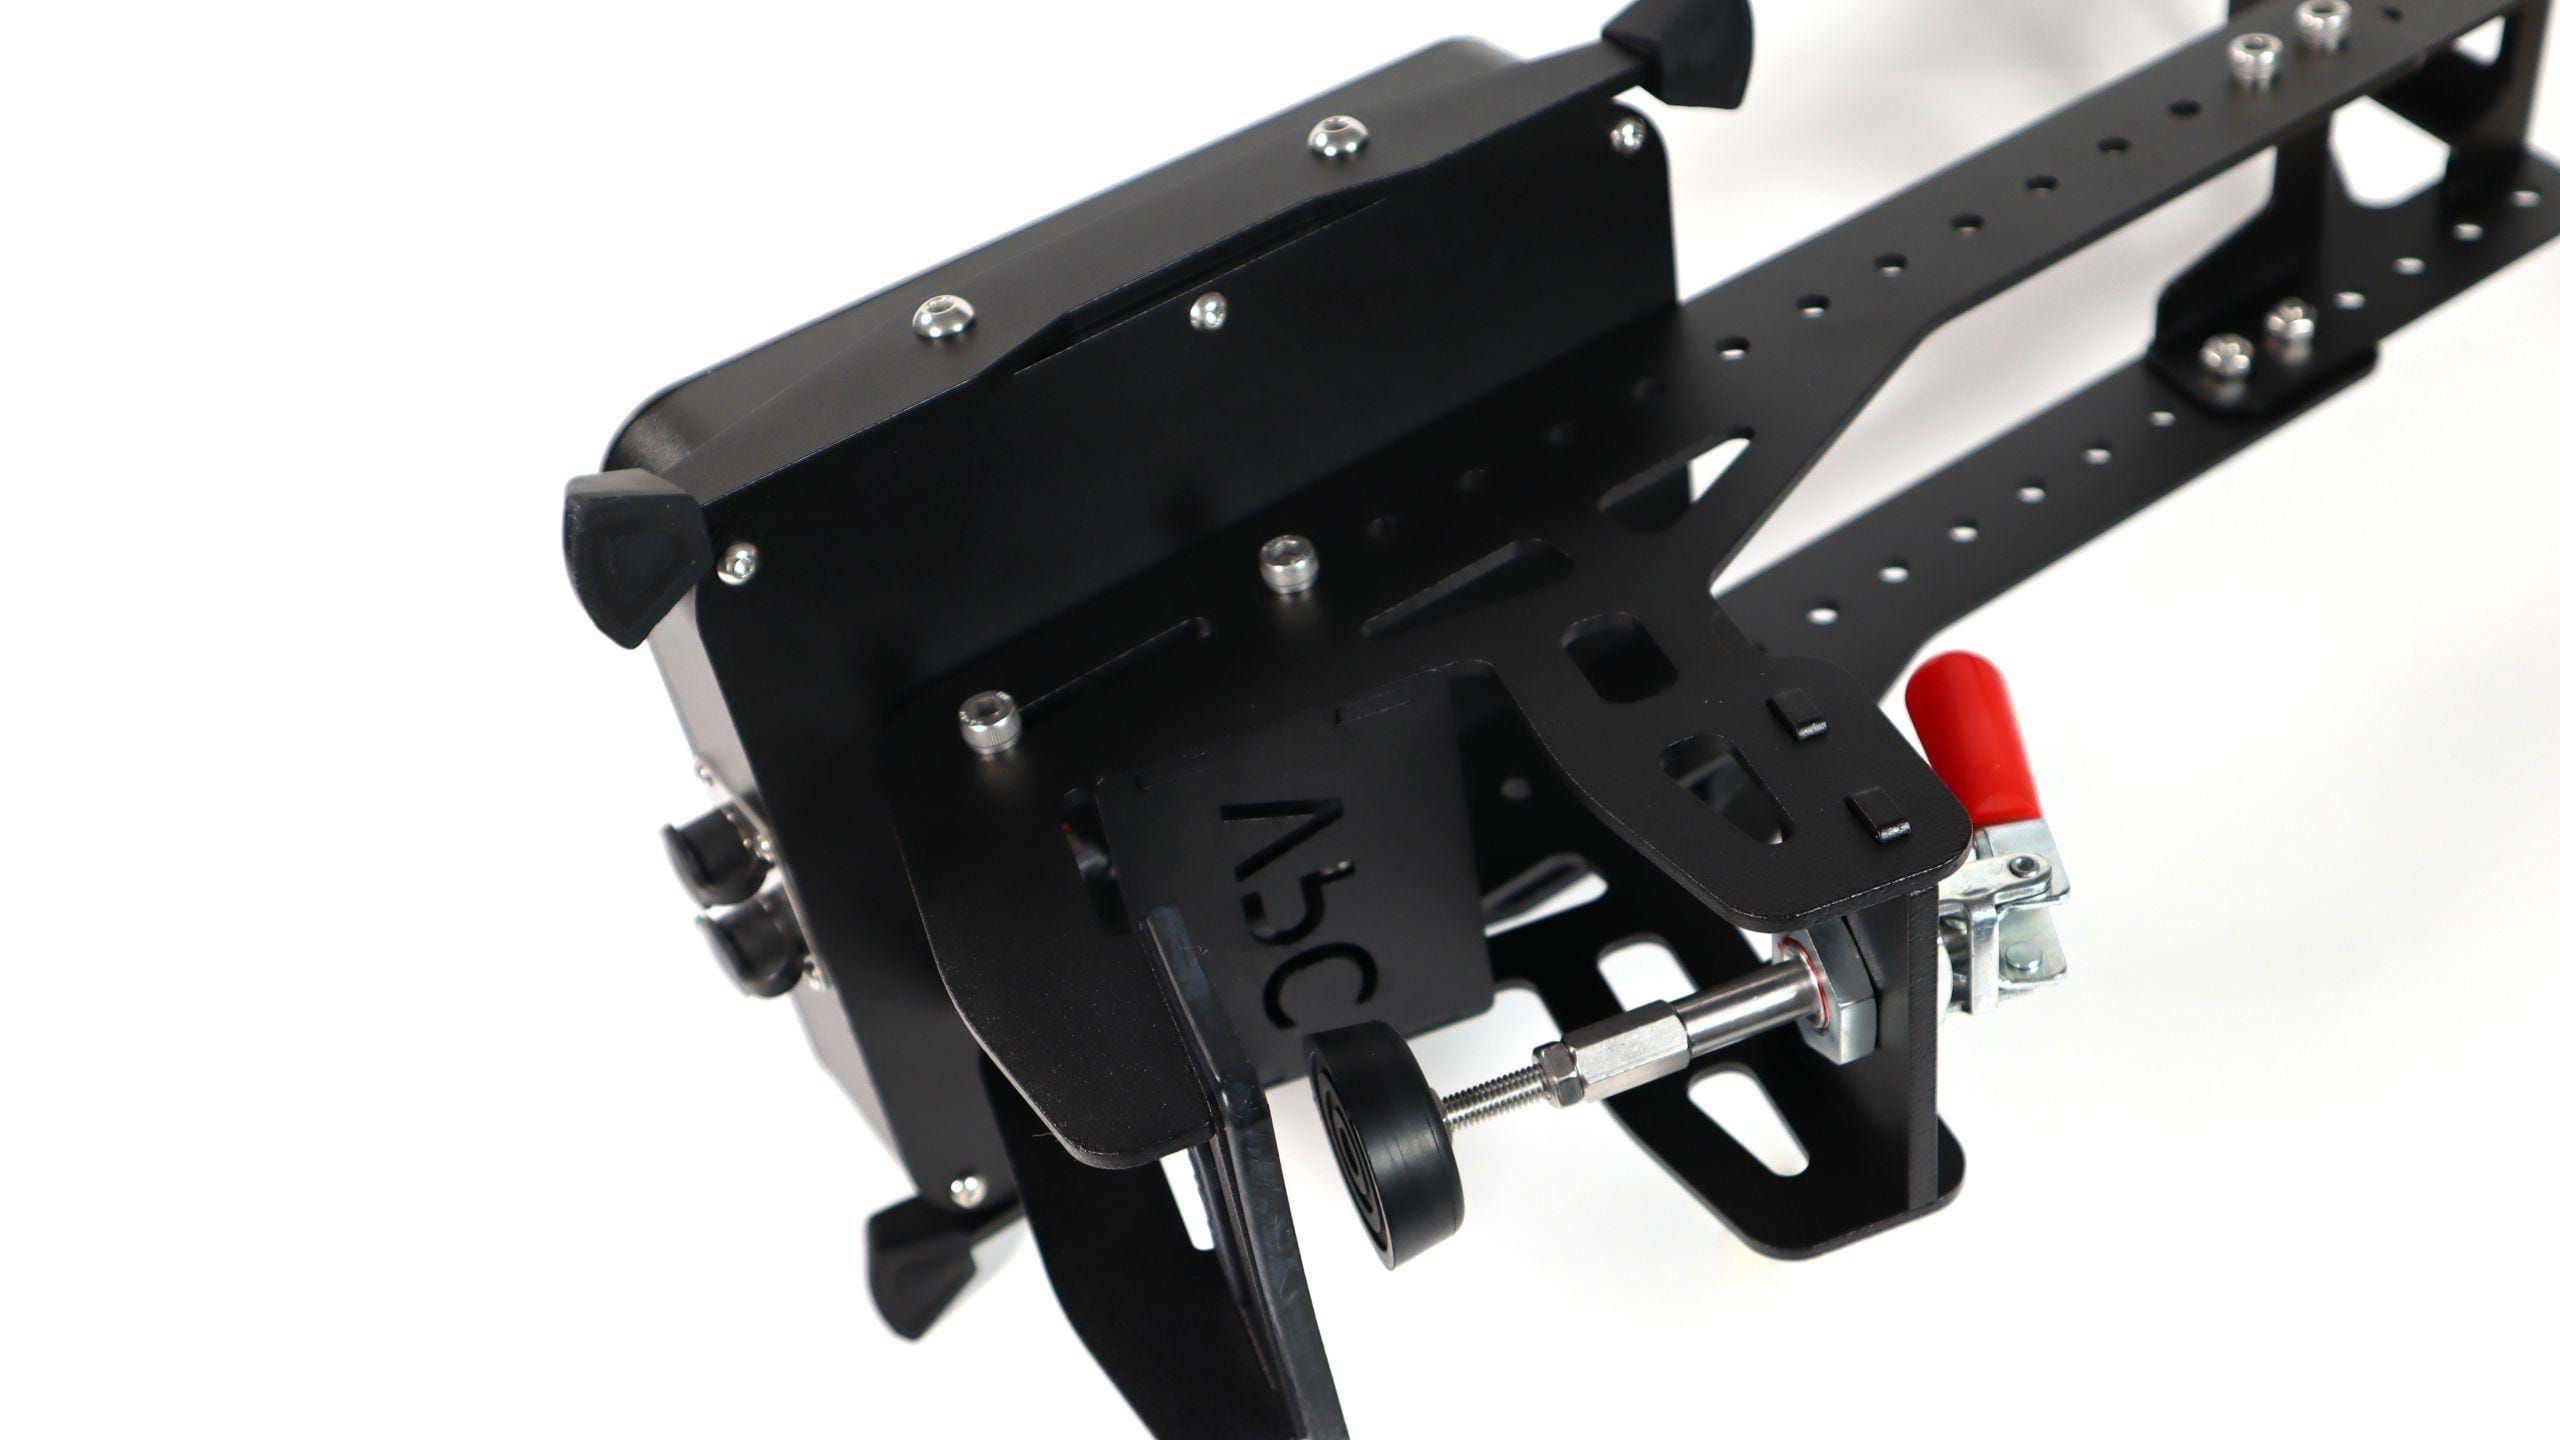
Above: VIRPIL VPC Control Panel #1 assembled on the VIRPIL VPC Mount
You are obviously not forced to use the VIRPIL mounting system and can make your own or perhaps try to adapt it to something you may already have from another manufacturer. The options are there.
Setting up and performance
Setting things up on the sims is pretty straightforward. And boring once you do it for the 4th time on the 4th different sim – especially since the number of controls in this thing is ridiculous.
As I mentioned above, you could mount 3 of these together but I really don’t see who could ever need to do so if you already have a VIRPIL throttle, for example. Do you REALLY need that many buttons?
The panel worked flawlessly with all the sims I tested with: DCS, X-Plane 11, Microsoft Flight Simulator, Aerofly FS2. All the buttons axis and other paraphernalia were promptly recognized, and they worked as intended.
As with the VIRPIL throttle , there are a few backlit buttons, which you can turn off or change the colors. Because of the studio lights, the images below really don't make it justice but you can notice a slight difference in the buttons.
Conclusion
There’s not a lot more I can say about this panel, really. It’s very well built, easy to setup and it performs great. It’s all you want to have on a controller product.
VIRPIL was very smart and made it so that you don’t need to waste another USB port in case you already have a throttle or a base/joystick. You can connect the panel to one of these and use the same USB port you were already using. I love clever solutions that have the customer in mind. This is definitely a huge help for a lot of simmers out there as we tend to have a bunch of stuff connected to the computer.
If you are in need of some extra buttons and/or axis, do take a look at these panels. If you already have a VIRPIL throttle or joystick, you can pair it up, so that’s an advantage right there, in case the 20+ buttons, rotaries, switches, knobs and levers are not enough to convince you.